As a crazy fan of iPod and iPhone, many friends come and ask me about how to enjoy movies and videos on their iPod and also they want unique ringtone for their iPhone. Too many people asking those questions, so I spend some time to make this article to show my dear friends that how to enjoy movies on iPod and iPhone and also how to make your own iPhone ringtone.
There are 3 parts in my article:
Part 1: How to put movie and videos on your iPod.
Part 2: How to put movie and videos on your iPhone
Part 3: How to make your own iPhone ringtone
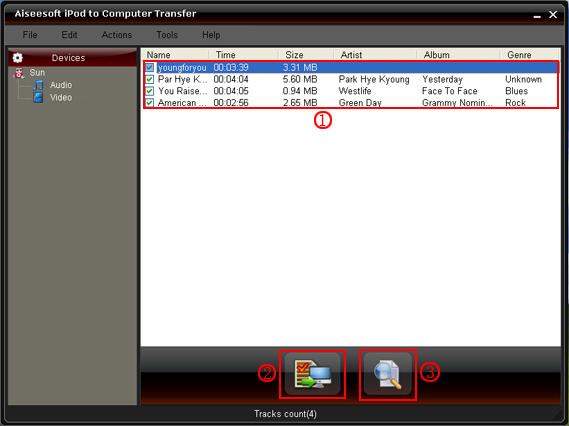
Part 1: How to put movie and videos on your iPod.If you want to put movie/video on your iPod, you must know what kind of video/movies can be played on your iPod. Look the following:
H.264File formats: .m4v, .mp4, and .mov
Video: Up to 768 kbits/sec, 320 x 240, 30 frames per second (fps), Baseline Profile up to Level 1.3.
Audio: AAC-LC up to 160 kbits/sec, 48 Khz, and stereo audio.
MPEG-4File formats: .m4v, .mp4, and .mov
Video: Up to 2.5 Mbits/sec, 480 x 480, 30 fps, Simple Profile.
Audio: AAC-LC up to 160 kbits/sec, 48 Khz, stereo audio.
Wow, that looks really complicated, right? Actually it is really easy to make such video/movie for you iPod. You just need
Aiseesoft
iPod Movie Converter.
Ok, let's begin.
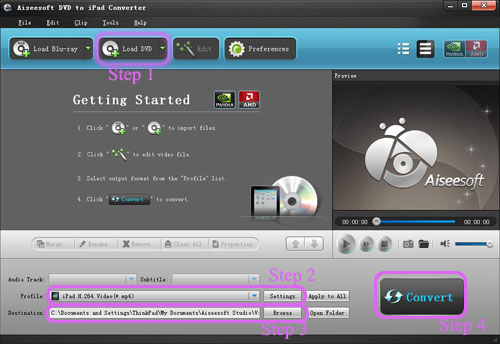
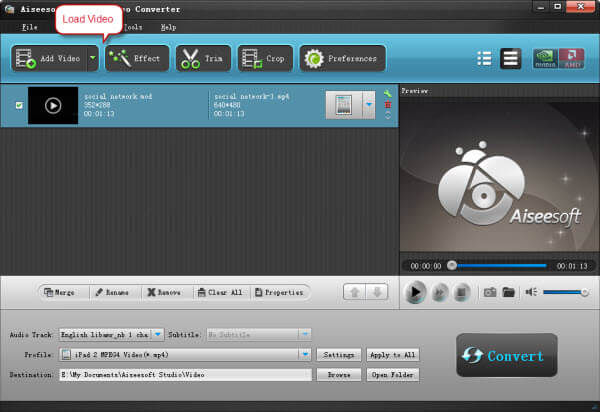
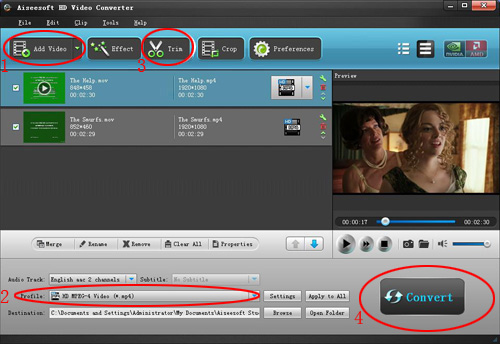
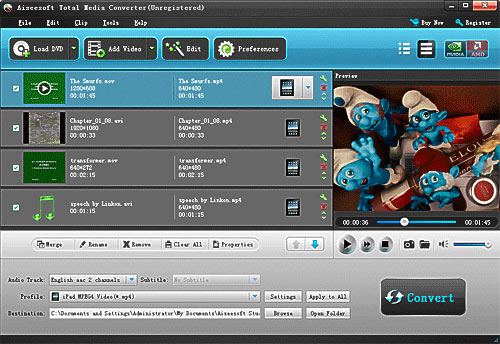
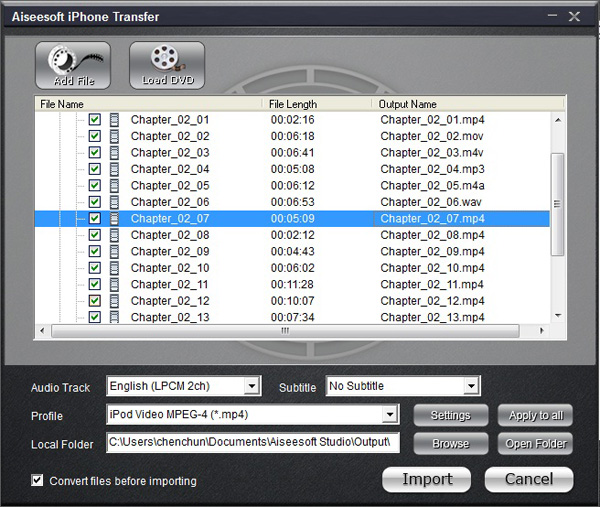
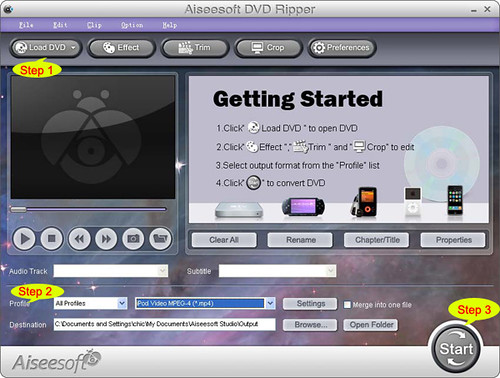
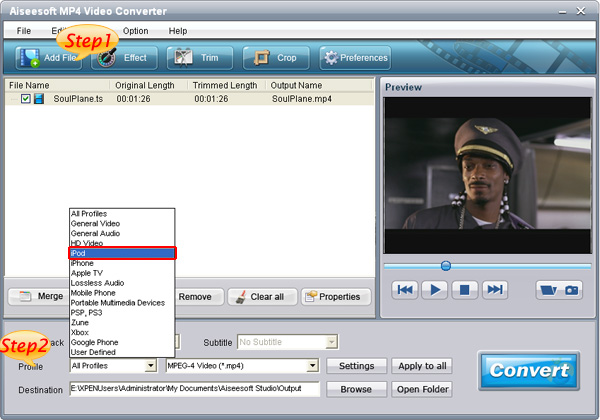
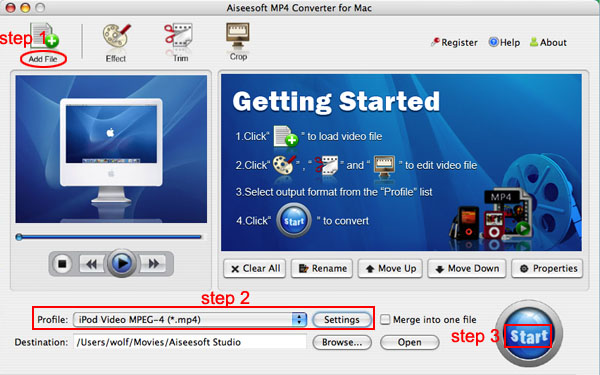
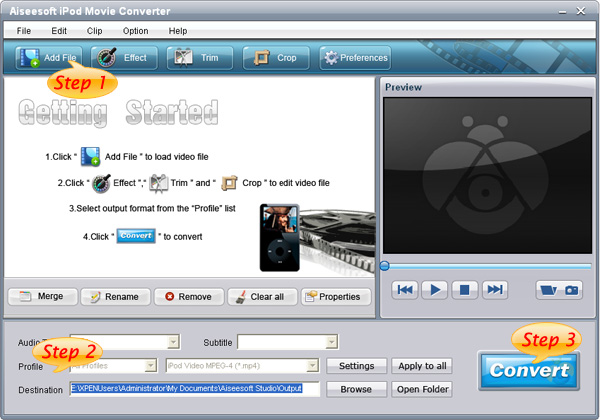
Step 1. Load VideoClick “Add File” to load the video/movie that you want to put on your iPod.
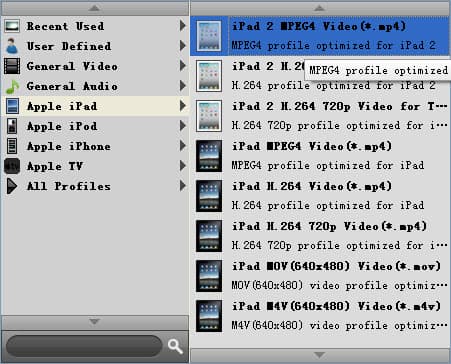
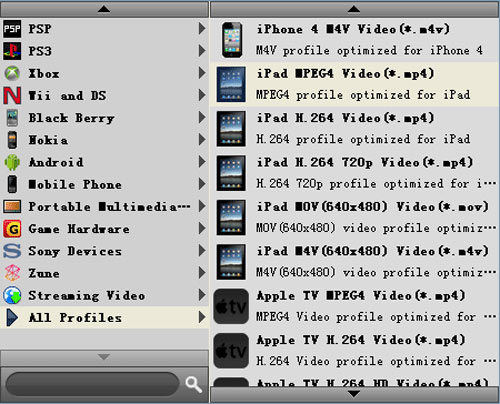
Step 2. Choose Profile and SettingsYou can choose your output profile on a drop-down list.
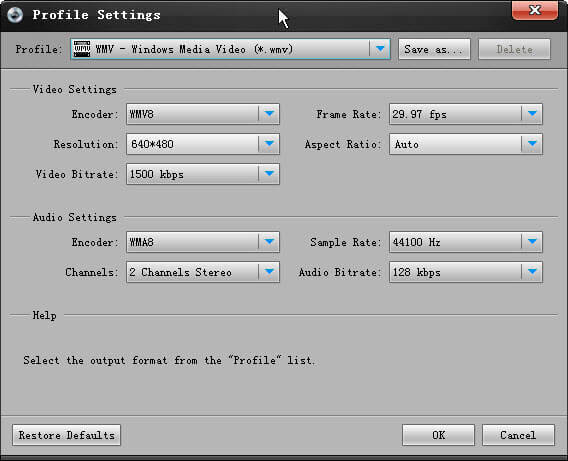
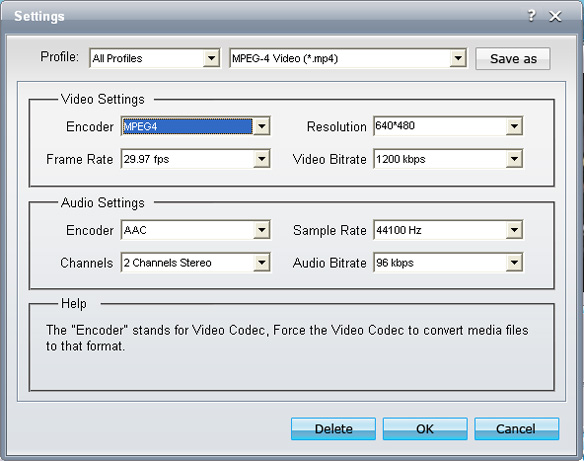
Click “Settings” button you can adjust the details of your output video/movie
Step 3. ConversionEverything is ready and you just need to click “Start” button to begin the conversion.
 Tips:
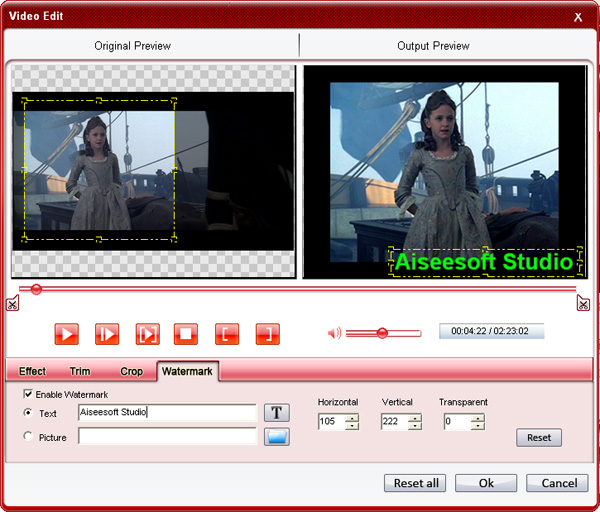
Tips:This powerful video convert for iPod allows you to do many video editing works to make your iPod video/movie more colorful.
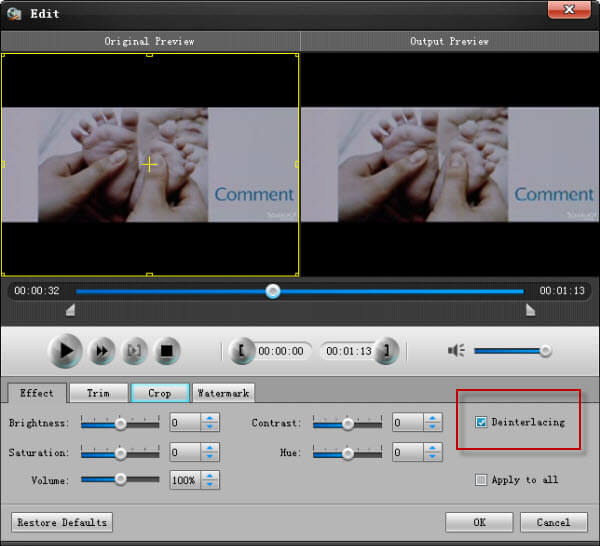
1. Effect:You can adjust your movie's effect, such as “Brightness”, “Contrast” and “Saturation”, and you can just check the output effect on the output preview window.
This powerful video converter allows you to choose “deinterlacing”.
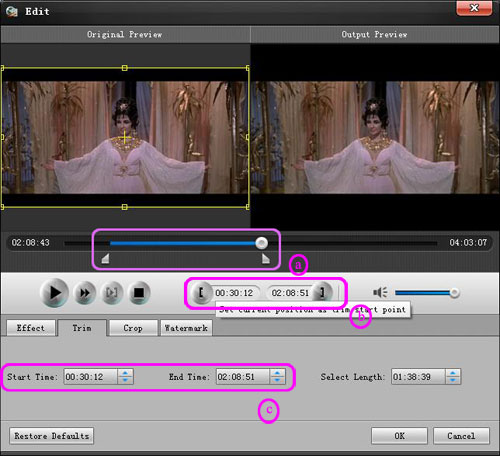
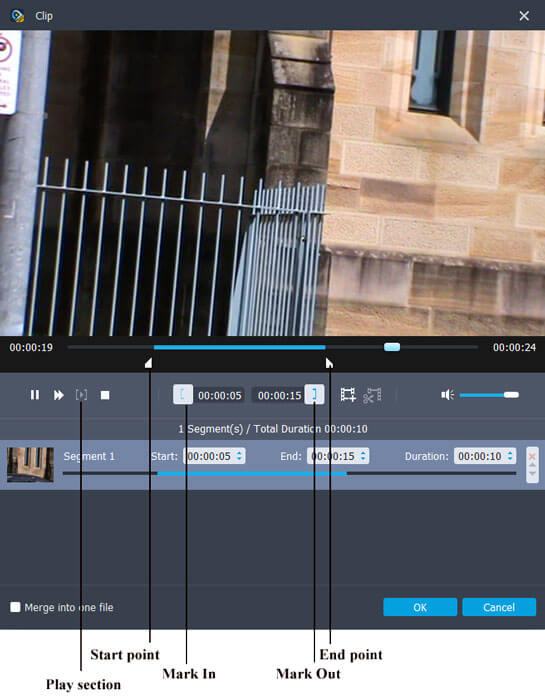
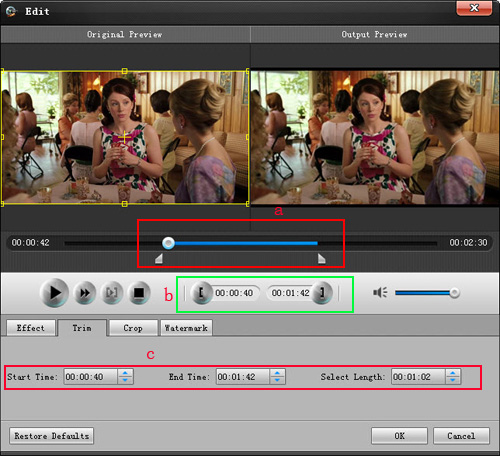
2. Trim:With trim function you can pick up any part of the video/movie to convert and put on your iPod.
There are 3 ways that you can trim your video.
a. You can drag the buttons to set the start and end time
b. You can preview the video first and when you want to start trim click the left one of the pair buttons when you want to end click the right one.
c. You can set the exact start and end time on the right side of the pop-up window.
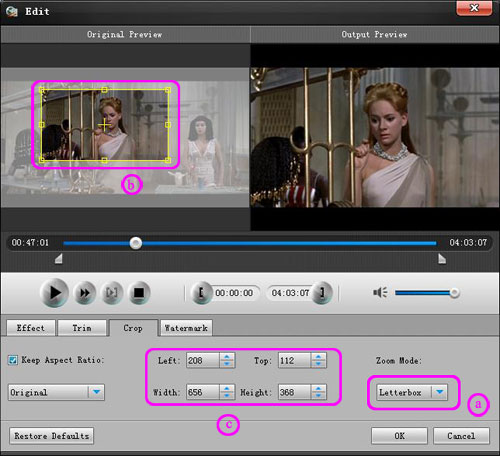
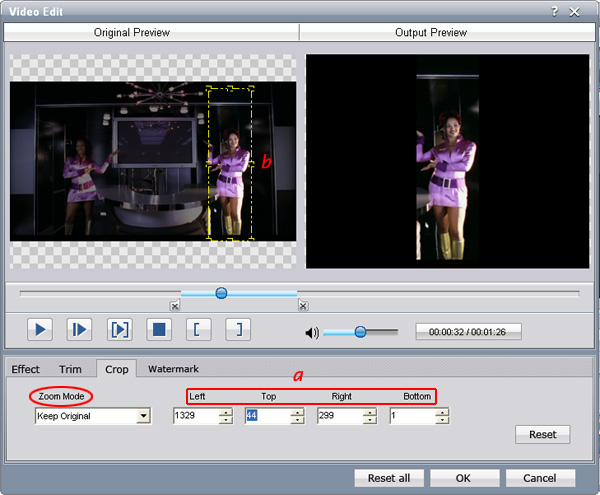
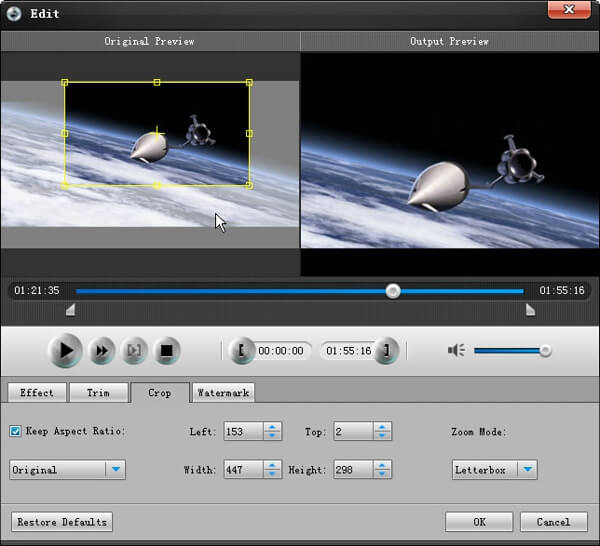
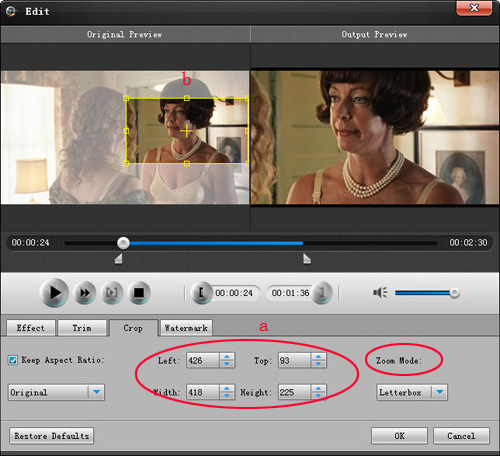
3. CropCrop function allows you to pick up any play area to convert:
There are 2 ways that you can crop your video.
a. You can set your own mode on the bottom of the pop-up window
b. You can drag frame to set your own crop mode
In the Crop window, you can also choose your output “aspect ratio”.
Here it provides you 4 mode to choose: “keep original”, “full screen”, “16:9”, “4:3”
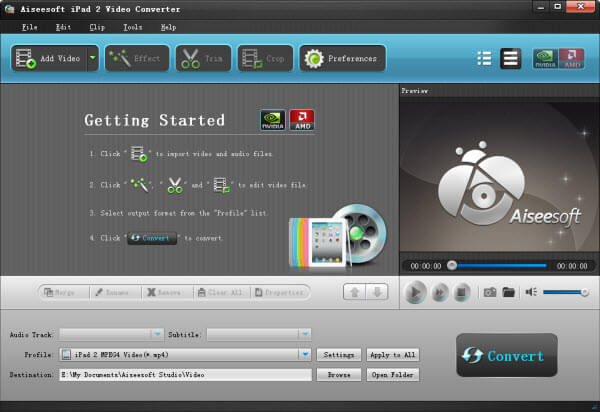
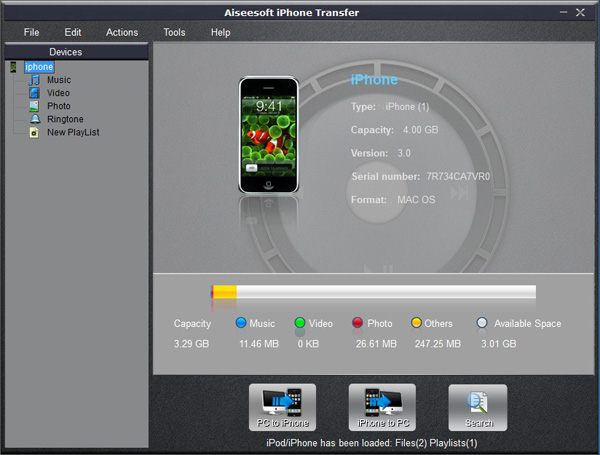
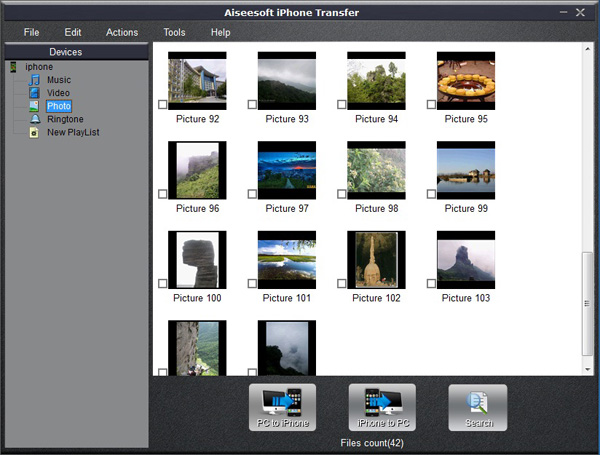
Part 2: How to put video/movie to iPhoneActually, iPhone is much easier to deal with than iPod, because there are so many generations of iPod.
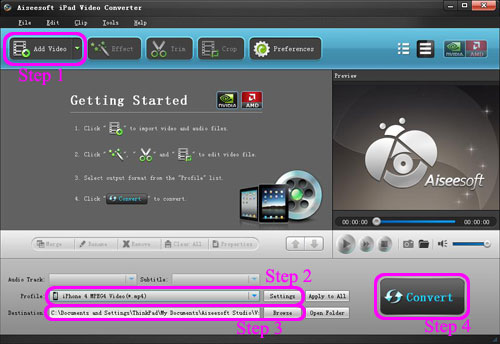
Put video/movie on iPhone, I use
Aiseesoft iPhone Movie Converter.
Step 1. Load VideoClick “Add File” to load the video/movie that you want to put on your iPhone.
Step 2. Choose Profile and SettingsYou can choose your output profile on a drop-down list.
Click “Settings” button you can adjust the details of your output video/movie
Step 3. ConversionEverything is ready and you just need to click “Start” button to begin the conversion.
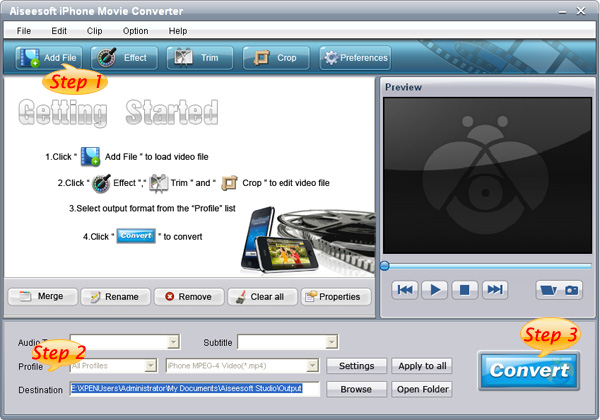
Aiseesoft iPhone Movie Converter can also do video editing works, such as adjust the effect, pick up any part of the movie, choose play area. The operation is the same as Part 1.
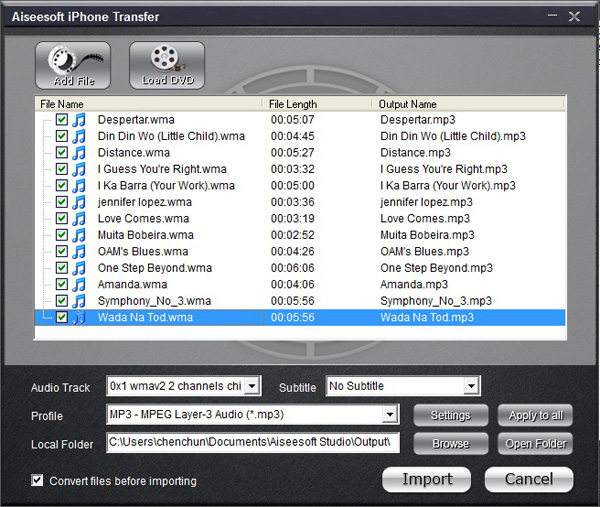
Part 3: How to make your own iPhone ringtoneThis time you need
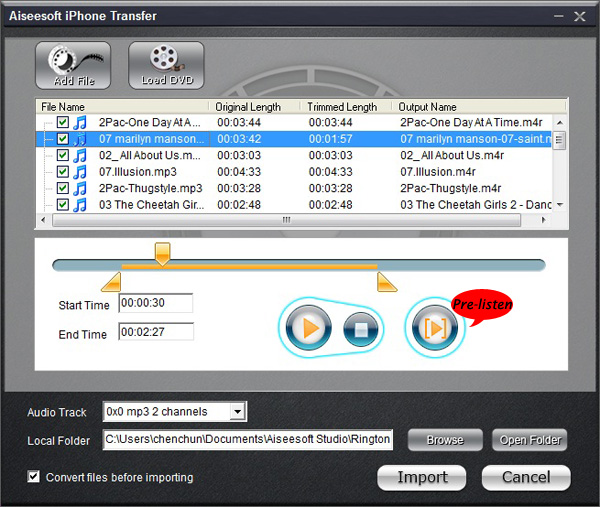
Aiseesoft iPhone Ringotne Maker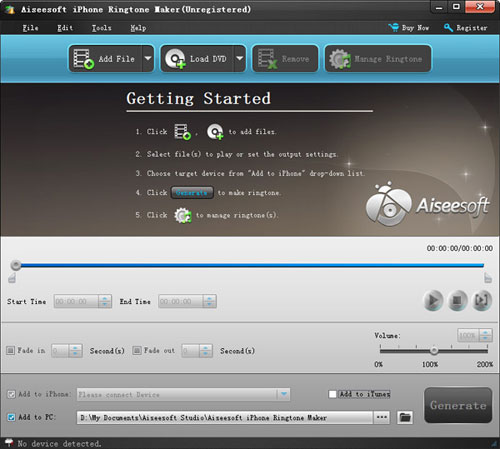 Step 1
: Click “Browse” on the right side of "Input File" to import the file that you want to make ringtone from it.
Step 2: Play it and listen the music to find the segment that you want to use it as ringtone. Then drag and click the start & end slider to set your wanted segment, or type the start & end time in the corresponding text box directly to get the exact segment. You also can pre-listen the converted audio before generate.
Step 3: Click “Browse” on the right side of "Local Output Folder" to choose the output destination.
Step 4: Check "Export to iPhone" option, the converted ringtone will be load to your iPhone directly.
Step 5: After all the settings are finished, click “Generate” to begin making your own iPhone ringtone.
Key function● Convert any video to iPhone ringtone M4R
● Create iPhone ringtone from any audio files
● Get any clips from video and audio
● Edit Added iPhone ringtones
Using Aiseesoft iPhone Ringtone Maker, you are free to edit the added iPhone ringtone by removing it or renaming it directly.